I thought it would be cute for her to have a Guestbook so I quickly painted a rainbow on one of the canvas panels I made for the kids to paint (more on those in a bit), and laid out a few markers. Instant Guestbook!
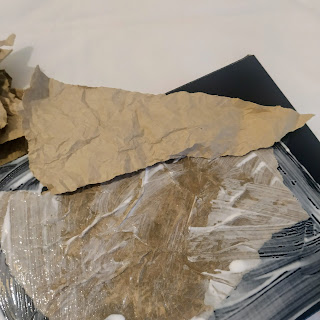
For the table, I purchased some White Kraft Paper (some Arts & Crafts stores will sell this by the yard) and a couple rolls of Gift Wrap that went with the theme. I covered the table in white and created a table runner with the decorative paper. I also covered a cardboard box with the same paper to create different levels. I got the cups, plates, and napkins from Amazon and the "Add-On" feature made them crazy cheap!
The backdrop was made with twisted crepe paper in rainbow colors. Just make sure you twist the same number of times every time to achieve an even effect. Yeah, I'm a little anal like that...I also like to count how many times I pump each balloon so they are all roughly the same size!!
As far as food goes we also kept it fairly simple. Rainbow fruit and veggie platter, jello in assorted flavors arranged on the table, popcorn, and chips with guacamole and salsa. Oh, and the super cute (and yummy) pretzel sticks dipped in white chocolate and sprinkles.